I am finally back in "school" mindset. Partly because I am ready to start thinking about it, planning for it, getting excited about it ... and partly because well, it. is.
August.
Can I get an AMEN! *smile*
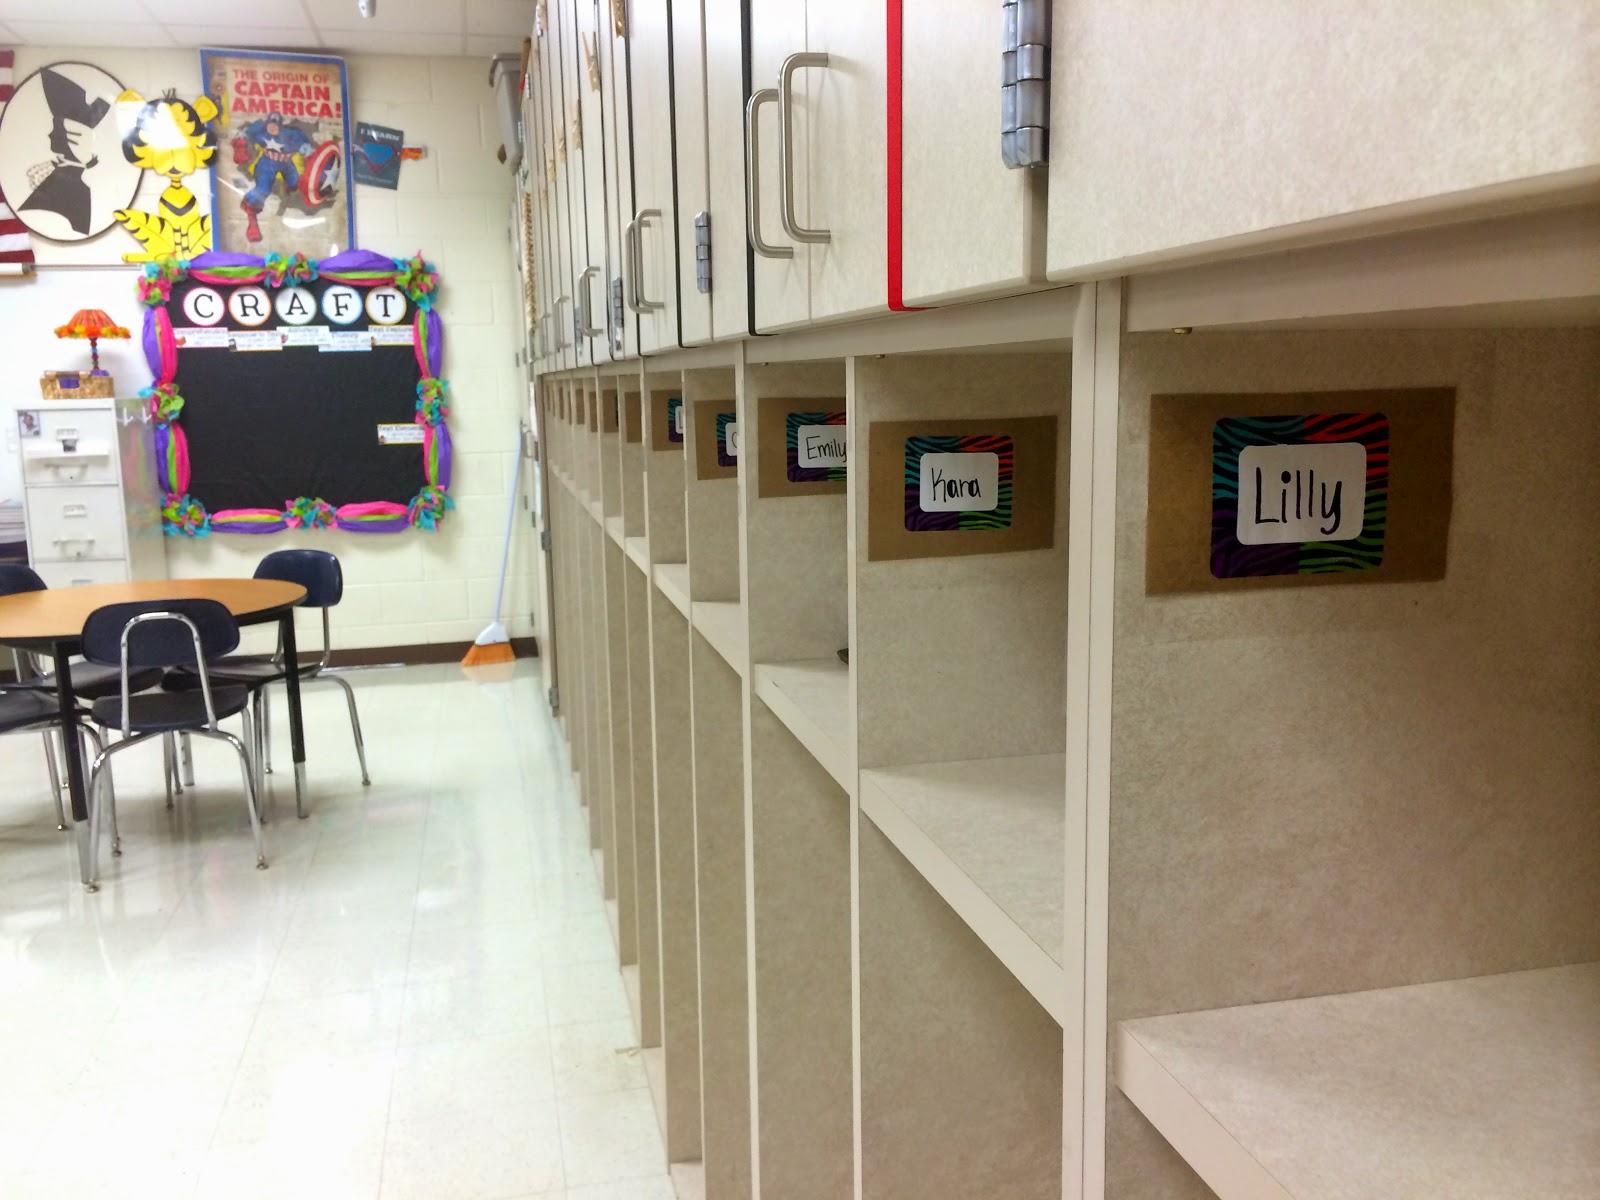
With that said, I have officially started working in my classroom. It isn't very cozy yet, but considering this was ONE Friday, I am pretty excited about my accomplishments! 
Today, I am sharing one of my favorite bulletin board borders. This idea is by no means my own, and there are quite a few tutorials floating around the internet, however, I figured it wouldn't hurt to put another one out there to encourage more people to utilize this FUN, EASY, and CHEAP boarder.
I can do one bulletin board with a packet of colored tissue paper from Dollar Tree for ONE DOLLAR!
SCORE!
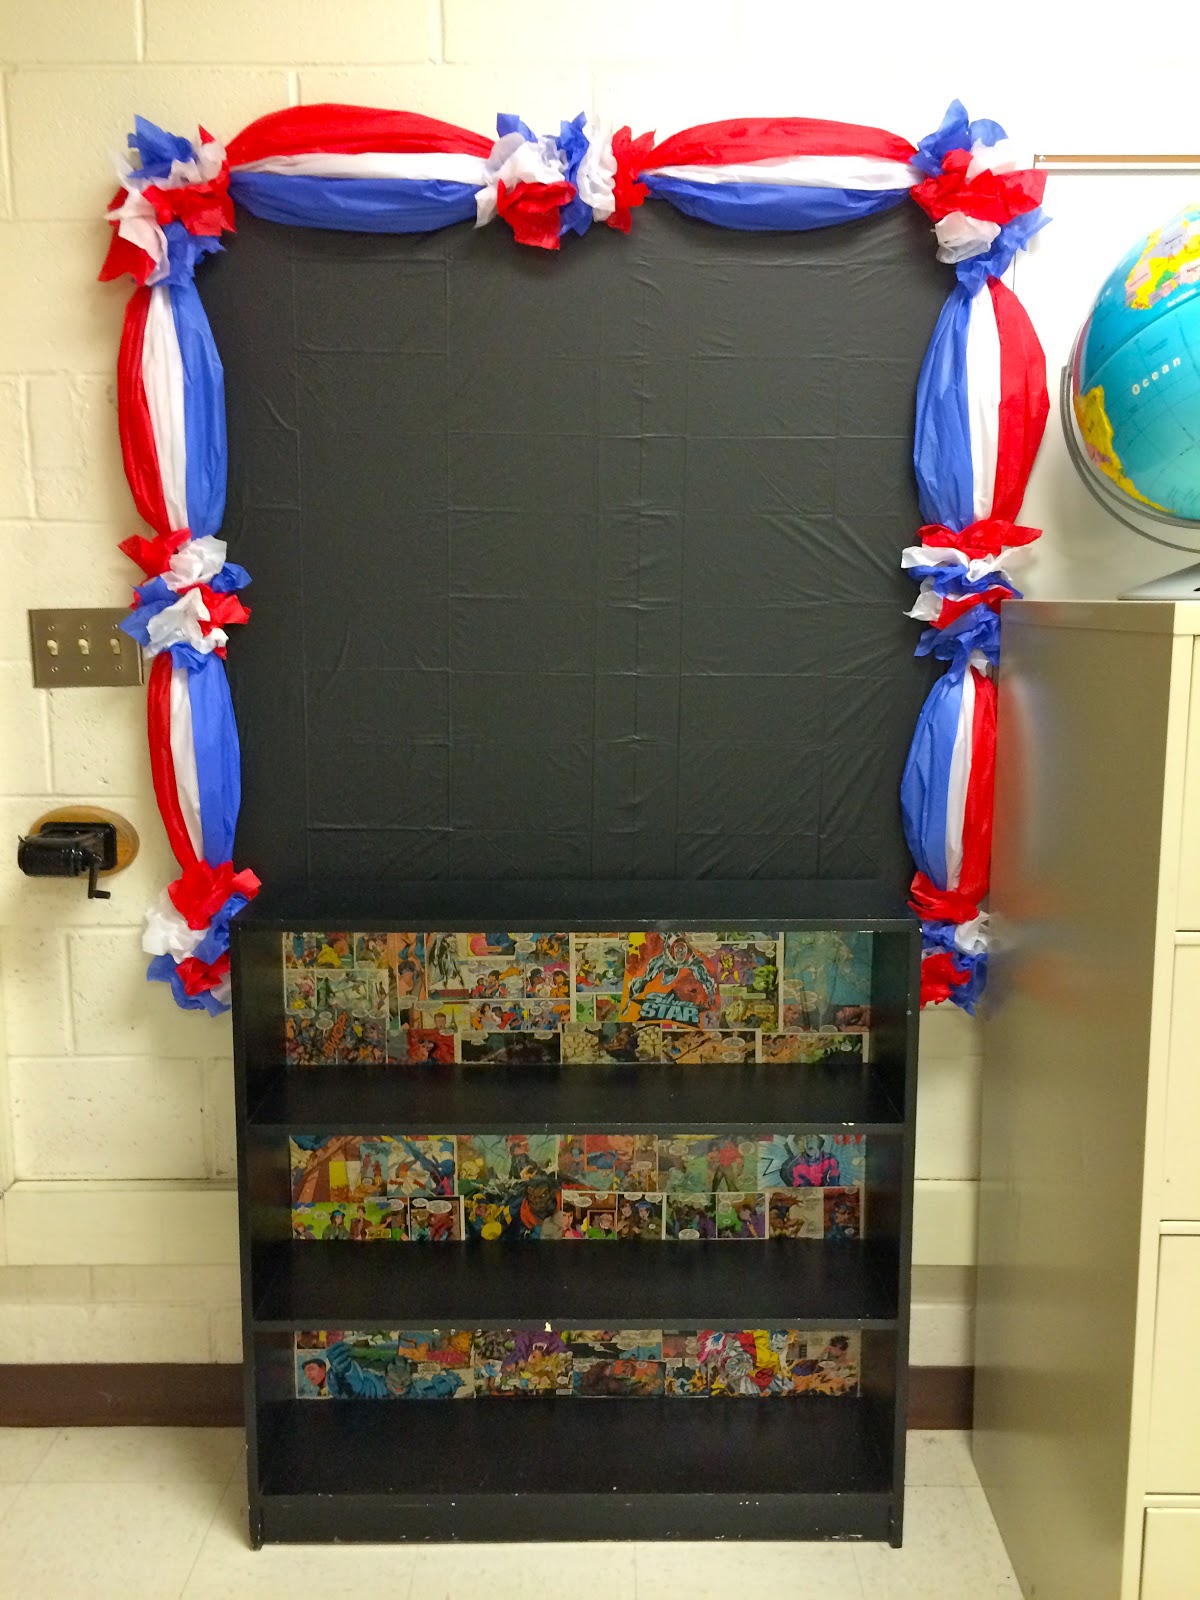
PS: I do NOT use paper for my bulletin board backgrounds. I always use plastic table clothes from Dollar Tree (again, CHEAP!). At first, they do have the lines but I don't mind and they smooth out fairly quickly. Black is my favorite color to use because it goes with EVERYTHING and it really allows student work to POP!
First: Using one sheet of tissue paper, fold it and bunch it toward to top much like a tootsie roll end. Some people like to fan it out and make the sheet longer but I like to go all the way to the end and balloon the middle to make it a bit more 3D.
Bunch at the other end as well.
Second: Do #1 to all of your pieces (2 or more depending on your color scheme) - you should end with with a batch of tootsie rolls. I like using three to create a color POP!
Third: Gather and pinch the ends of the three together. Push pin them together onto your board. Some people use staplers but I find that push pins hold it better. Pin both ends. There should be some space between each "balloon".
Fourth: Using the same three colors, cut each color into smaller squares and create small "bunches". I like to crinkle the edges a little.
 Fifth: Pin these bunches between the "balloons" to create a finished, flowery, look.
Tada!
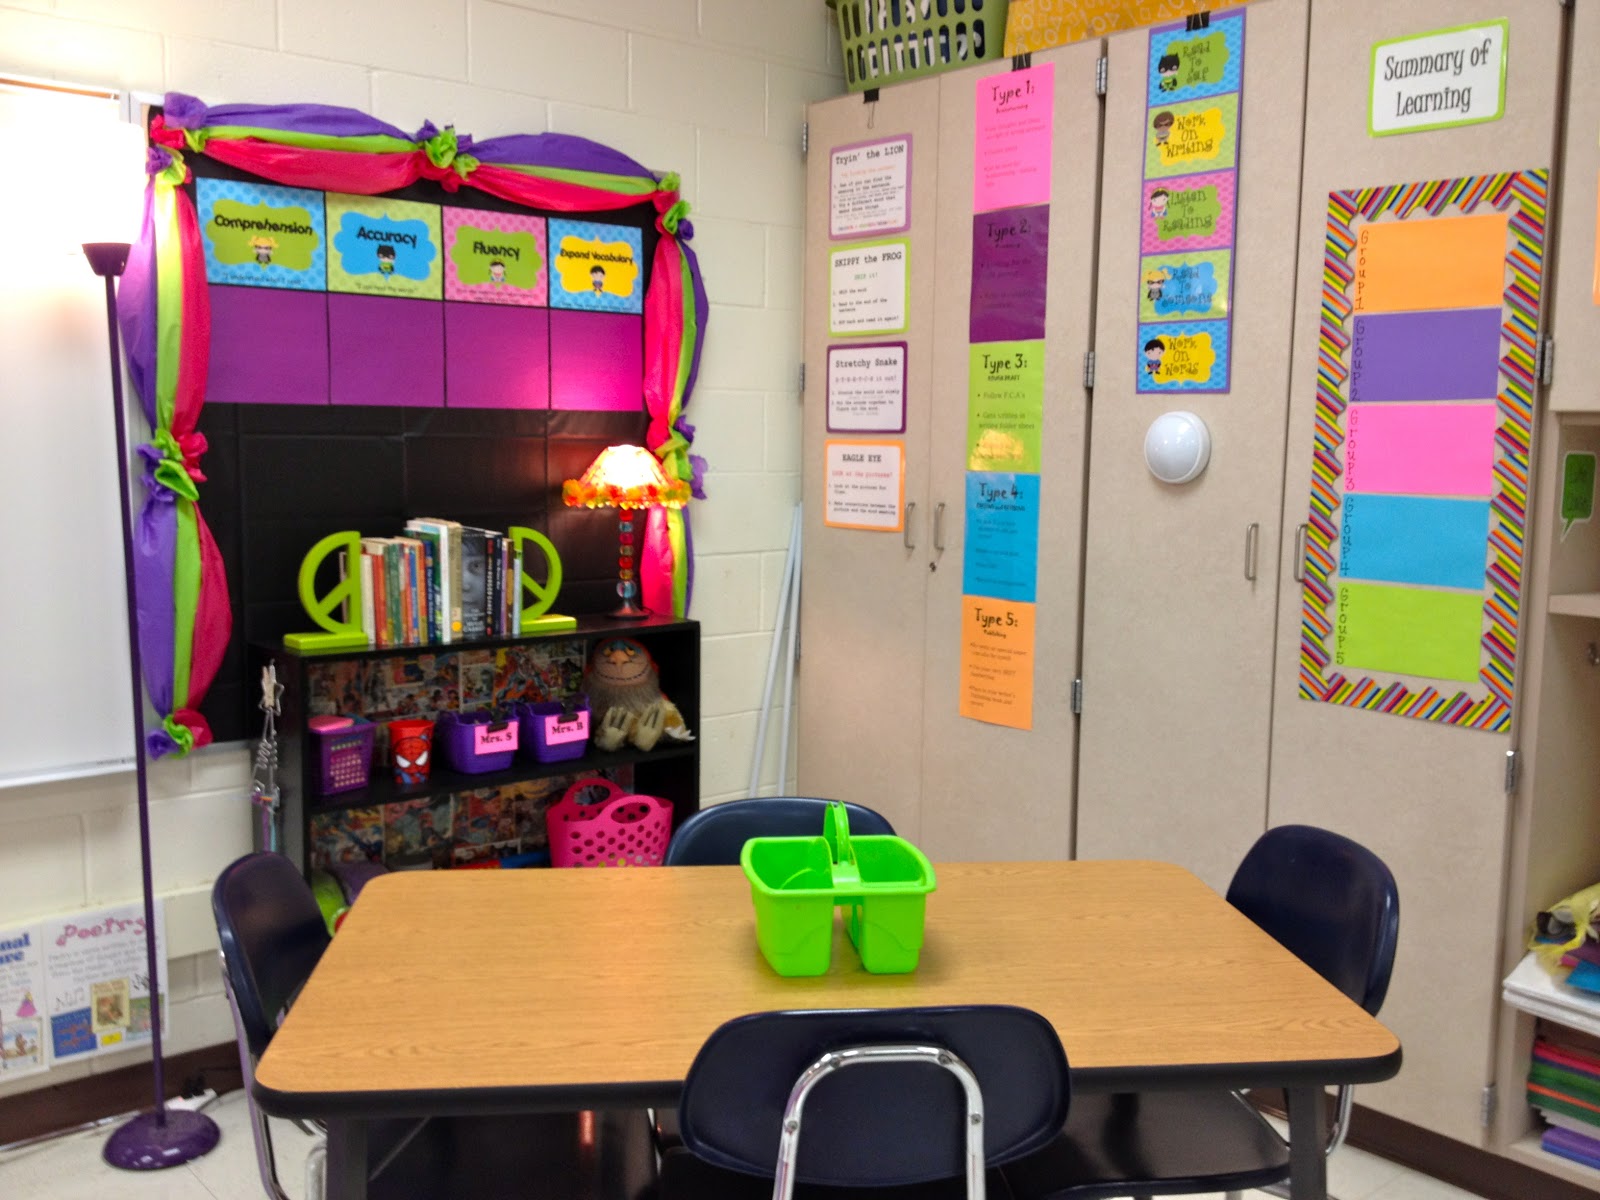
There are so many combinations you can try with these! These are just a few I have done - the abundance of red, white, and blue is because I teach American History and Government.
Rolled, Tulip-like, flowers in between
Using only two colors
Two colors and a solid flower
Now you have FABULOUS and super fancy looking borders to place your kiddos work in!
Warning: Be prepared to get many compliments ;0)


 Back of the room